
5 tips for shooting Golden Hour portraits
To anyone starting out in photography, the terminology of the industry alone - with its f-stops, its shutter speeds and its ISOs (and let’s not get started on the inverse square law) - can be enough to stop them in their tracks, especially when they realise it can feel like you need a degree in applied mathematics to put it all into practice.
Fortunately, there’s one phrase that does precisely what it says on the tin: The Golden Hour. True to the lexicon of photography, it’s not entirely straightforward - it actually refers to two hours: the first hour of light after the sun rises and the last hour before it sets.
But the quality of light it so evocatively suggests is exactly the same. Because the sun is at a low angle in the sky, the intensity of the light is softened and the harder blue light at the height of the midday sun gets filtered out, resulting in warmer red and gold tones. It’s also known as the ‘Magic Hour’ because the quality of light it casts can make all the difference between an average photo and something stunning.
Although in the UK we’re often equally likely to get a Grey and Drizzly Hour at dawn and dusk, I keep an eagle eye on the forecast for days when I can use that beautiful diffused light to help make my headshots pop, and here are my 5 top tips for making the most of the Golden Hour when it does arrive.
Use the sun as an edge light
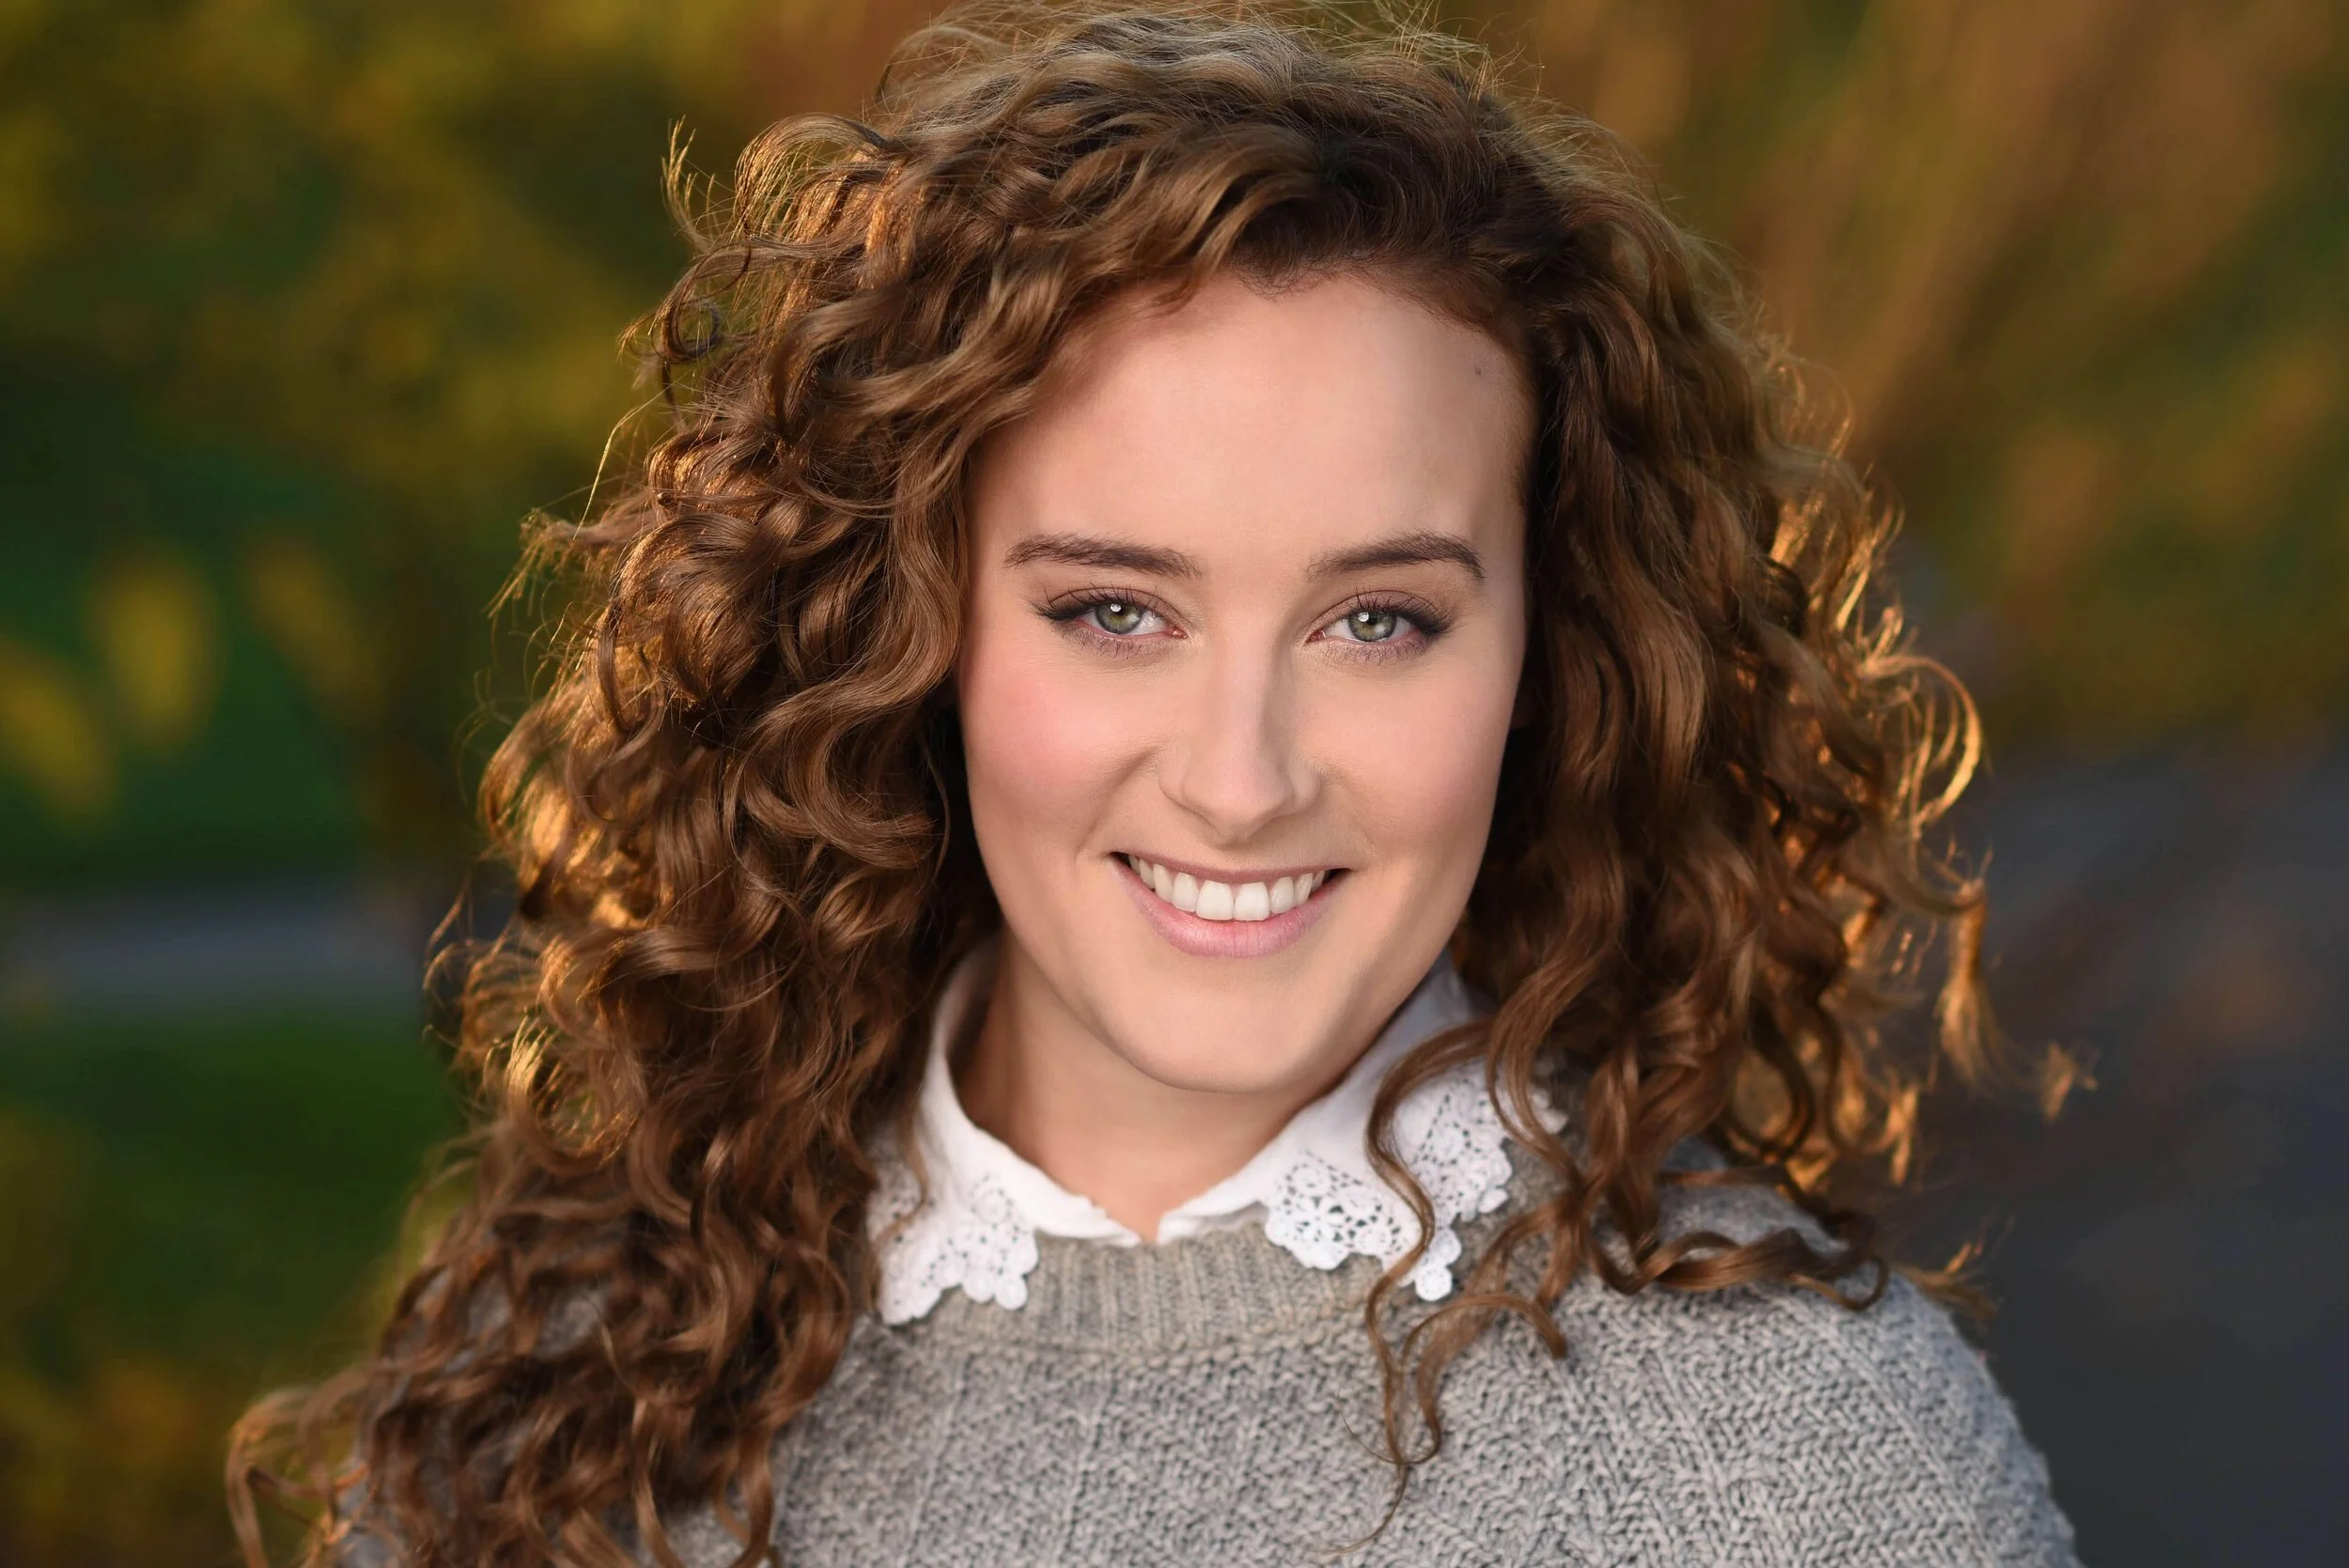
Of course, it helps when you’ve got a client with hair that wouldn’t look out of place in a Renaissance painting, like my client April Pearson, who you will no doubt recognise if you were a fan of the E4 teen drama series Skins, in which she played one of the original cast members, Michelle Richardson.
By placing April directly in front of the sun, I was able to complement and accentuate the natural tones in her hair and create that magical glow on her hair; there’s a softness and evenness to the way the light falls naturally which would have been hugely challenging and time-consuming to recreate using artificial light. And time is very much of the essence during the Golden Hour - it’s essential to work quickly to catch the light before it fades.
2. Use lighting modifiers that complement the quality of light

If you do place your subject in from of the sun, you’re obviously going to have relatively much less natural light falling on the face, so you’ll need to use modifiers of some kind to lift the shadows.
I often use a silver reflector to create contrast in stronger light, but as the overall aim here is to achieve a softer feel I’ll tend to use a white reflector, held by the model just out of frame. Although the reflector is still quite close to the face, the reflection from the sun at this time of day generally isn’t strong enough to lift the shadows sufficiently to create a balanced, even light, so I’ll usually also use a soft box (in this case a diffused Wescott Rapid Box feathered across the face and bouncing light back up from the reflector) to ensure an even spread of soft light.
3. Use a wide aperture for headshots

Using a shallow depth of field perfectly complements the diffused light and overall softness of the image. I usually shoot at around 2.8 to create beautifully textured backgrounds, whilst also ensuring that the eyes - which should always be your focus point for headshots - are pin sharp; I find that going any wider runs the risk of occasionally slipping focus, and there’s nothing more frustrating than capturing a beautiful expression from your subject, only to find that the eyes are slightly out of focus in the edit, and that you can’t use the shot.
It’s also worth remembering that it’s important to avoid too many distracting elements in headshots - they should always be about the sitter rather than the setting - and shooting at a wide aperture ensures that you subject is clearly foregrounded. I also chose this composition specifically because although the background is quite busy, the green tones also clearly complement and accentuate April’s eyes.
4. Choose background tones that accentuate the mood

The Golden Hour can turn even the most boring backgrounds into beautiful backdrops. Of all the shots I’ve featured here, this was probably the least inspiring to the naked eye - just a bunch of dead Autumn leaves lying on a muddy patch of ground behind April.
But it’s a great example of how warm the the light can be at this time of day, with the ability to transform whatever it falls on; the background in this shot is straight out of camera - no effects, no filters - and, to my eye, it perfectly matches the mood.
5. Plan your shoot and take time to prepare
Perhaps more important than any of the above is the need to plan ahead. Your window of time is so short, and the light changes so quickly, that unless you’ve got a good idea of exactly where you’re going to shoot and where the light is likely to fall in any given location, you can easily run out of time after only getting a few shots.
I’d recommend getting to your location at least an hour before you plan to start shooting - which means in the morning, you’ll be setting up in the dark! The location I used for this shoot was a nearby park I shoot in quite regularly, but I still asked April to meet me an hour early so we could work out a basic shot list and move between the various backgrounds with minimal fuss - all the more important when you’re also moving your lights and adjusting your exposure each time.
And if you want to get really nerdy about it, there are some free apps out there that calculate exactly when the Golden Hour starts and ends, such as Blue Hour Calculator (for Android) and Helios Golden (for iOS).
Hope you found this post useful , and please feel free to leave any comments and feedback below.
For some more tips on Golden Hour Photography, check out this great post from Pixpa: Golden Hour Photography - Creating Magical Photos